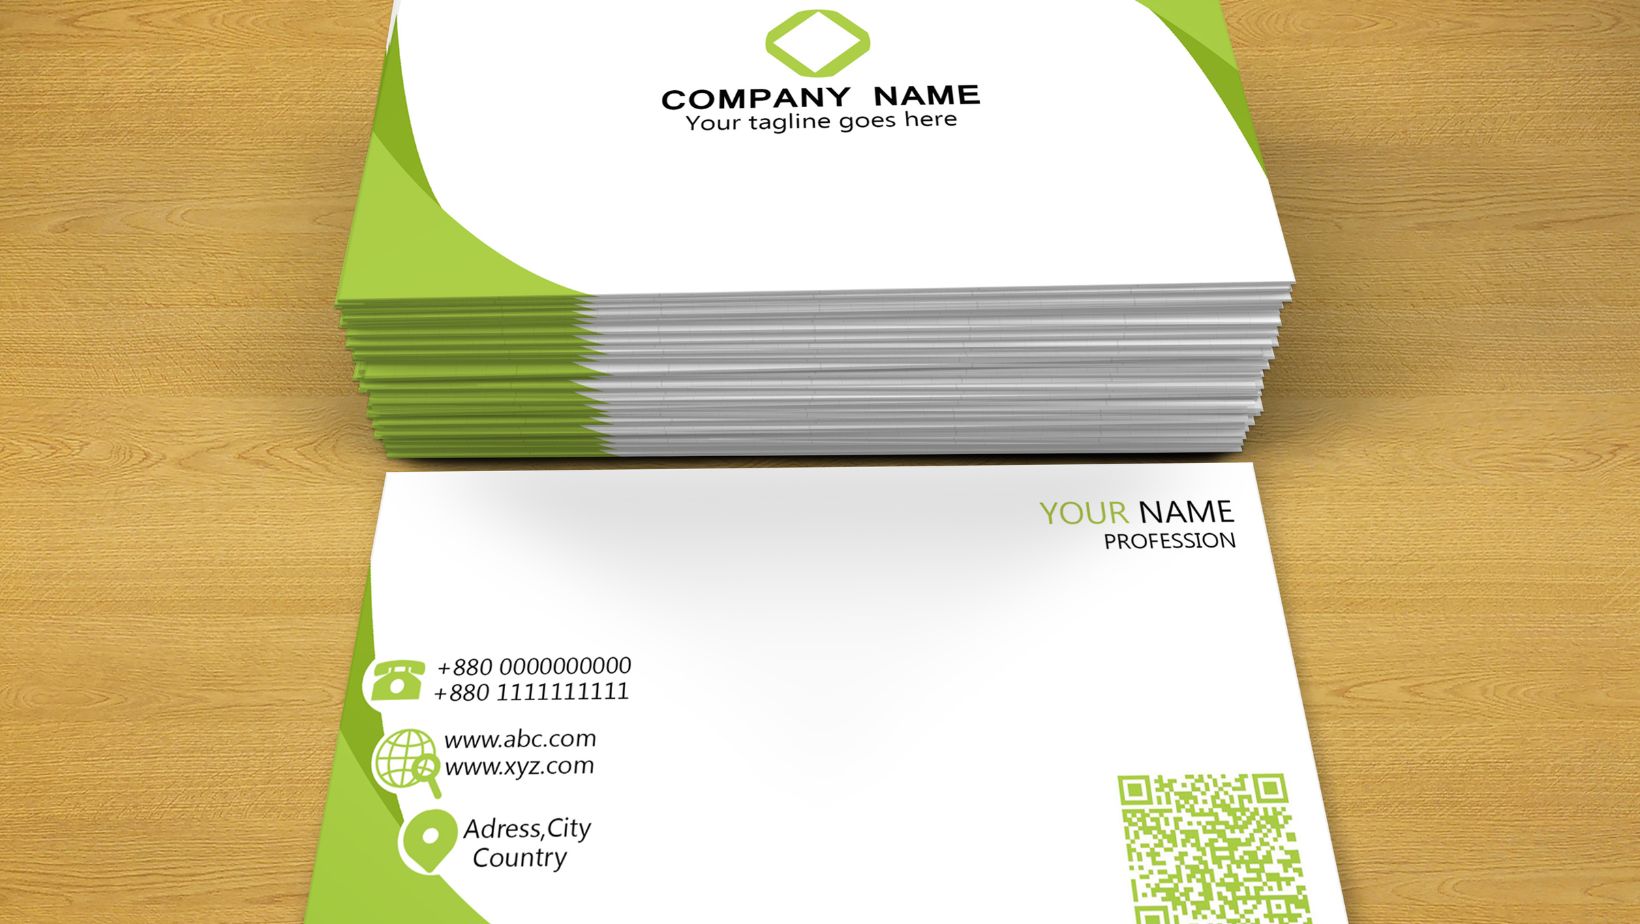
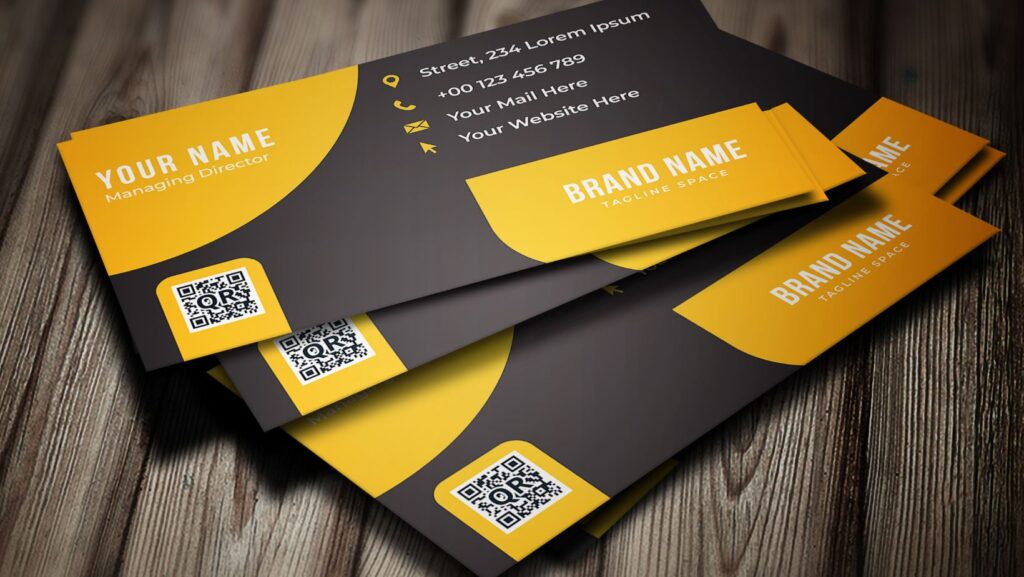
Connections can happen instantly and across great distances in this day and age. That said, traditional methods of networking are evolving. One of the most exciting innovations in professional networking is the rise of the QR code business card. These virtual cards represent the future of how we exchange contact information, showcase our personal brand, and connect with potential clients or collaborators.
Here’s how to get started.
Why Choose a QR Code Business Card?
A QR code business card is a versatile, modern solution that allows you to store all of your contact information in one easy-to-scan code. Using one provides people with a simple, quick way to access your contact details, social media profiles, email addresses, phone numbers, and even your website URL. Creatives like photographers, musicians, and artists can also include a link to their online portfolio.
A physical business card can get lost or forgotten, and it also doesn’t offer the same level of instant connectivity as its digital counterpart. Shifting to a digital business card format ensures you stand out and leave a lasting impression on potential clients or anyone you meet professionally. With a custom QR code, you can decide which information you want to share, ensuring that each scan provides exactly what’s needed for each situation.
Now that you understand what it can do let’s walk through the steps to create your own. Thanks to the availability of electronic tools, making a personalized copy has never been easier.
Step 1: Choose a QR Code Generator
There are plenty of options out there—some are free, while others offer advanced features for a price. Either way, look for a code business card generator that lets you input your contact information easily.
Most allow you to create a dynamic QR code, which is an essential feature if you want to keep your information up-to-date. Picking this option lets you edit the information behind the code without having to generate a new one. This is especially useful if you need to update your contact information or change the website URL you’re linking to.
Step 2: Input Your Information
The next step is to input the information you want to include. Some of the key details you can add include:
- Your Name and Title: Clearly identifying who you are and what you do.
- Social Media Accounts: Linking to your professional profiles or social media accounts allows others to easily find and connect with you online.
- Website URL: A great way to direct people to your personal or business website.
- Phone Number: Making it easy for people to call you with just one click.
- Email Address: This is for quick communication via email.
- Physical Address: If relevant to your business or service.
- Online Business Card or Virtual Business Card: A link to a more detailed version of your digital business card, where people can find even more of your contact information and professional details.

Make sure all of your contact information is accurate and current. You want to make it as easy as possible for someone to reach out to you.
Step 3: Customize the Design
You can customize the appearance of your QR code on a business card after entering your contact details. Many generators allow you to change colors, add logos, and adjust the overall look of your code to match your branding. This is where you can get creative and make your electronic business card stand out from the others.
Step 4: Generate and Test the Code
After finalizing your information and design, click the button to generate your QR code. Before you print it on anything, make sure to test it. Use your smartphone to scan the code and double-check that it leads to the correct information. Testing ensures that it works seamlessly, giving you peace of mind before sharing it.
Step 5: Add the Code to Your Business Card
Many people place it on the back of a traditional business card. However, you can put it anywhere—so long as it’s on a prominent spot that’s easy to scan.

Others prefer to add the code to their online business card, marketing materials, or any media they might share.
Ideal Practices for Using QR Code Business Cards
To make sure your QR code business cards are as effective as possible, keep these best practices in mind:
- Keep it simple: Don’t overload it with too much information. Stick to the essentials and ensure the details you include are always up-to-date.
- Use a vCard QR code when possible: Doing so is a great way to make sure all your contact information follows a format that someone can add directly to their phone or email contact list.
- Consider integration with digital wallets: You can add your QR code business card to electronic payment systems for convenience. Doing so makes it even easier to access and share your contact information when you’re on the go.
- Test the code regularly: As mentioned earlier, test the QR code from time to time to ensure it still works correctly and links to the right content.
You’re free to implement other innovative methods and integrations that serve your needs best. The end goal is to optimize the use of your digital business card as a professional networking tool.
Wrapping Up
Using a QR code business card is a great way to merge traditional networking with the convenience of modern technology. Creating your own lets you share your contact information instantly and memorably. The interactive nature of these cards ensures you’re leaving a good impression, whether you’re connecting with potential clients, attending events, or simply sharing your details with someone new. With a little attention to detail and regular updates, your digital card can become a powerful asset for making lasting connections.


